Printing your designs can be incredibly rewarding—there’s nothing quite like seeing your work come to life on paper. But before you hit “send” on your order, proper file preparation is essential to avoid delays, blurry prints, or costly errors.
In this post, we’ll walk you through the key steps to prepare your files correctly for professional printing.
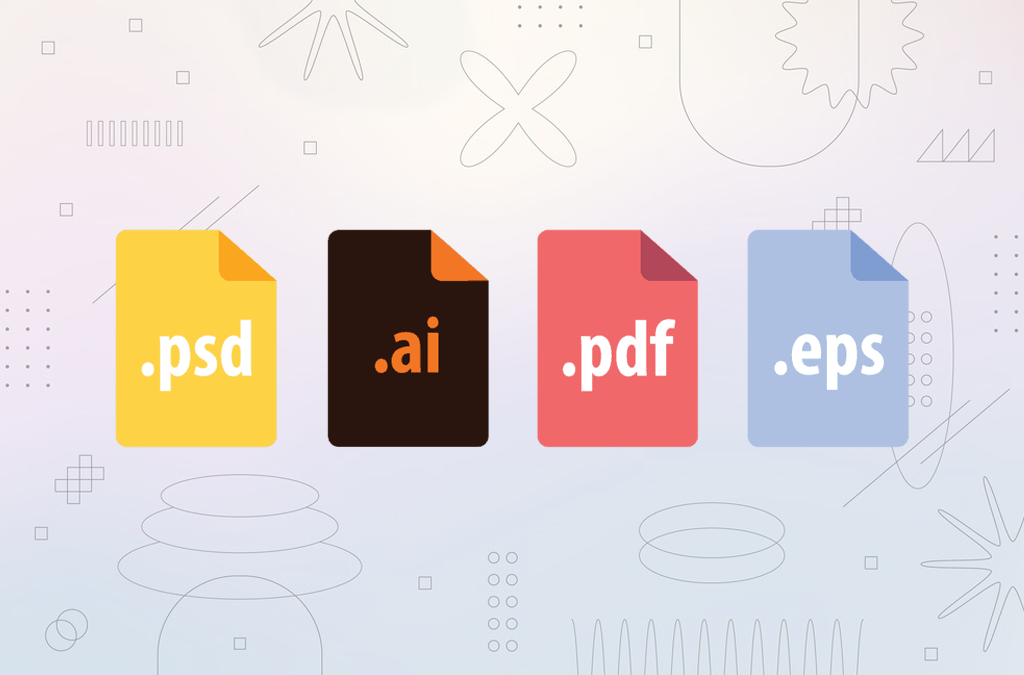
Step 1: Use the Right File Format
Most print shops prefer PDF files because they preserve formatting and fonts. Other acceptable formats include:
-
AI or EPS (for vector-based artwork)
-
TIFF (for high-quality images)
-
JPEG (high resolution only, not ideal for text)
Tip: Always embed or outline fonts when saving to avoid font substitution issues.
Step 2: Set the Correct Color Mode
Designs for print should be created in CMYK (Cyan, Magenta, Yellow, Black)—not RGB. RGB is for screens, and colors can look drastically different when printed.
In Adobe Illustrator or Photoshop: Go to Image > Mode > CMYK Color to convert your document.
Step 3: Use High Resolution Images (300 DPI Minimum)
To ensure crisp, clear printing:
-
Set resolution to 300 DPI (dots per inch)
-
Avoid using images from the web—they’re often only 72 DPI
Warning: Low-resolution files can look pixelated or blurry when printed.
Step 4: Set Up Bleed and Safe Zones
-
Bleed: Extend backgrounds or images at least 1/8 inch (0.125″) beyond the trim edge
-
Safe zone: Keep important content at least 1/8 inch inside the trim edge
These ensure your design looks perfect even if the trimming isn’t 100% precise.
Step 5: Flatten Transparencies and Embed Fonts
-
Flatten transparencies to prevent unexpected results during printing
-
Embed or outline fonts to avoid font replacement issues
Most design programs have options for this when exporting to PDF. (In Illustrator: File > Save As > PDF > Preserve Illustrator Editing Capabilities (uncheck))
Step 6: Double-Check Dimensions and Margins
Make sure your document size matches the final product size (e.g., 5″x7″, 8.5″x11″, etc.). Include bleed if required.
Pro tip: Use templates from your print shop for exact specs—these often include guides for bleeds and safe zones.
Step 7: Proof Your Work Carefully
-
Check spelling and grammar
-
Ensure images are properly placed and not cropped
-
Review margins, alignment, and spacing
If possible, print a sample on your home printer—even if it’s not color-accurate, it’ll help catch layout issues.
Final Checklist Before You Send Your File:
✅ File is in PDF (or shop-approved format)
✅ Colors are in CMYK
✅ Images are 300 DPI
✅ Bleed and safe zones are correctly set
✅ Fonts are outlined or embedded
✅ Dimensions match the requested product
✅ You’ve proofed it thoroughly
Need Help? We’ve Got You Covered.
If you’re unsure about your file setup, our team is happy to review it before printing—just send it over! We also offer design services if you’d rather let us handle the prep. graphics@coxprinters.com
Have a print project in mind? Contact us today and we’ll make sure your design turns out perfectly.