Printing Resources
To help our clients get a better understanding of the print process, we gave some details to help make the process be as painless as possible. Below you will find a few terms that we use in the industry with an explanation for each.
Should you still have questions, no worries… We are always here to help!
Masters
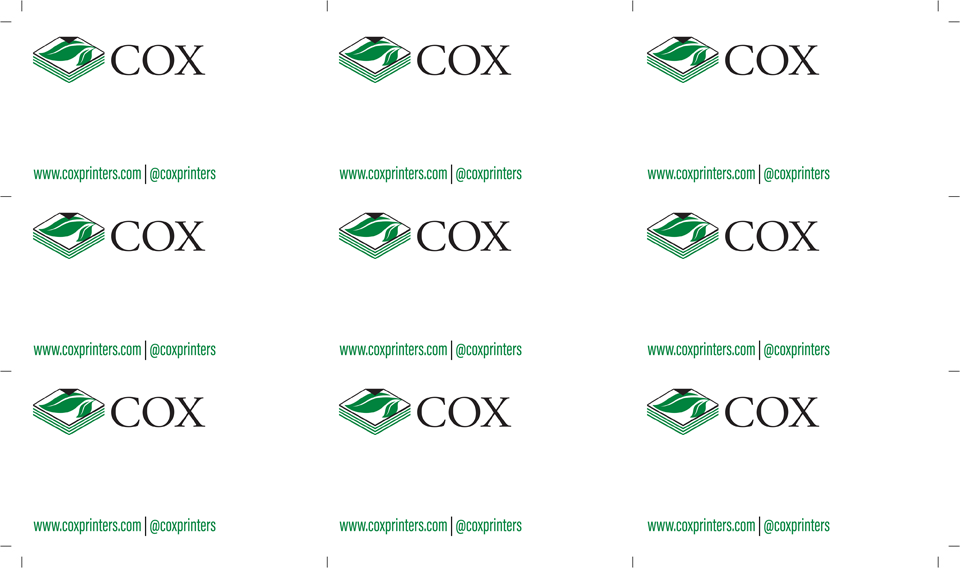
When printing with masters, specific elements of a business card are targeted. These targeted elements are aspects of the business card that do not change from card to card. A good example would be a colorful logo on a business card that is printed on an offset press. A multi-color logo can be difficult to produce on an offset press. This single element of the business card could account for 80% of its overall cost. If this fictitious organization expects to order 20 boxes of business cards throughout the year, they might opt to print only the logo for all 20 boxes upfront, all at once. Doing so would dramatically reduce the production cost of the logo because of the increased efficiency that we discussed in the previous paragraph. Since the logo accounted for 80% of cost for each business card, the cost of the entire run would also be lowered dramatically. After the logos are printed on all cards, the employee information can be added as needed. The employee information is usually just 1 color (typically black), which is relatively inexpensive to produce.
The process of printing with masters requires that you store the blank unused business cards, for later use. These blank business cards – which only contain the logo – are called masters. Masters can be stored indefinitely and as mentioned in the previous paragraph, are only used when the remaining elements (which are unique to each card) need to be added. As discussed in the prior example, employee contact information would be unique to each set of business cards. So they would be added as needed. The process of adding the unique information to the masters is called imprinting.
Bleed
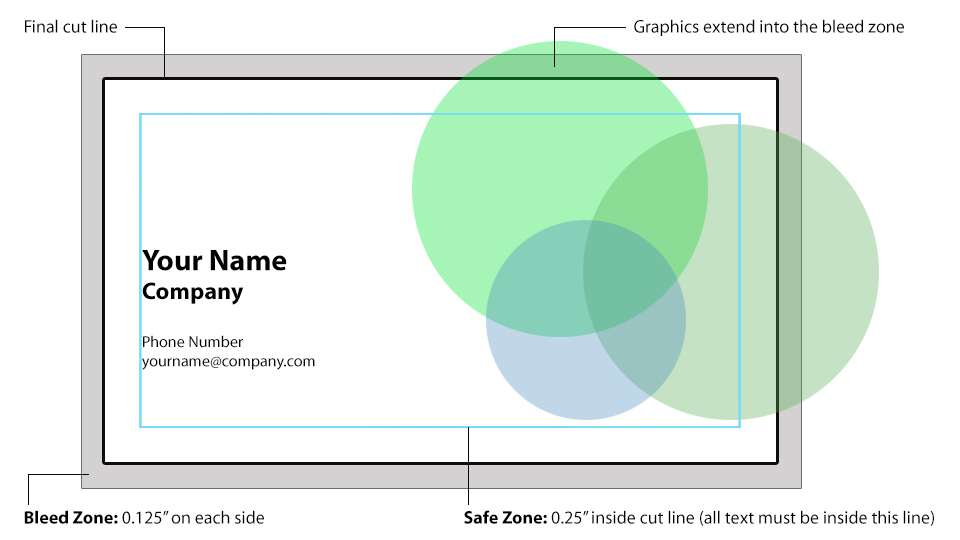
Trim marks should indicate where the final page is to be trimmed, should be .25 to .5 pt in width, and start at least 1/8″ past the edge of the sheet. For most documents, it is sufficient to define the document size to the paper (final trim size), draw bleeding objects past the edge of the page, set bleed for the document specs, and allow the application to add the bleed and trim marks in the proper location during printing.
For special situations, such as documents created in applications that don’t define a page size (e.g. Photoshop) it will be necessary to extend the graphic area and draw trim marks yourself. When creating PDFs, be aware that by default PDFs are created and displayed cropped down to the trim size. Be sure to include bleed and trim marks when generating PDFs for designs that bleed, or else carefully enlarge your document page size and draw accurate trim marks before exporting.
Spot Colors
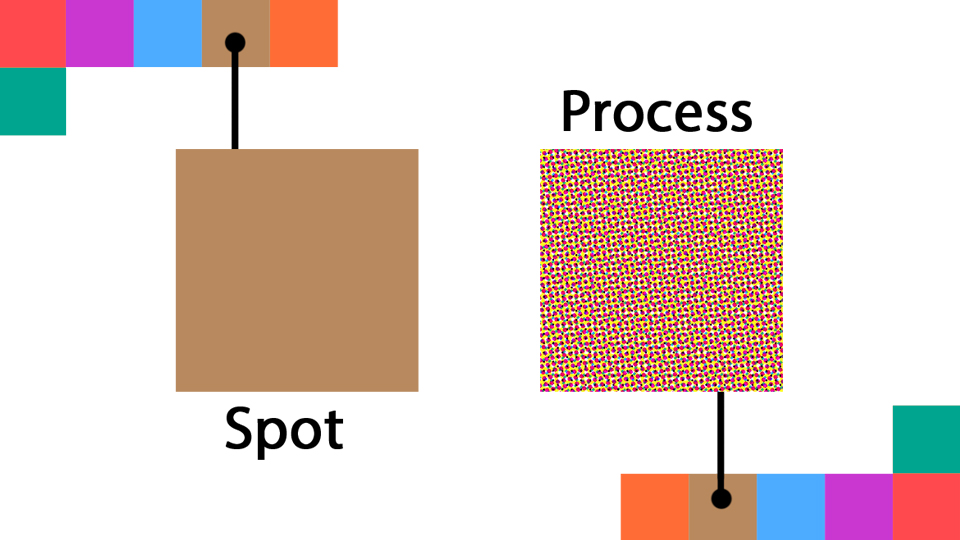
There are several systems developed and in place for matching specific spot colors in the industry. In North America, the most common have been designed by Pantone Inc. The matching system developed by Pantone is called “Pantone Matching System” (PMS) and this system has approximately 1,000 different pre-defined colors that can be mixed with an array of base inks that are called “Pantone Colors” – these Pantone colors are the base inks that are sold by the company. A printer normally refers to the PMS number of the ink in the specification. Once the specification is established, the client and the printer refer to the color by its PMS number.
The PMS color mixed to achieve a color on coated paper will print with a different hue and density on offset stock, non-white or off white stocks. This is the reason that the company that establishes these matching standards offer color swatch books in both offset and coated stocks. Cox utilizes a computerized system to achieve the exact color that is required, thus reducing errors.
File Formats

- We support all versions of Adobe Creative Suite
- Please use the Collect for Output or Package Function of your application and allow the application to collect the components of the job instead of trying to find and collect every piece yourself. You will find this to be a tremendous time saver both on your end and ours.
- All Offset printing files should be supplied with supporting artwork in CMYK format with an effective resolution of 300dpi or better for photographs, 600dpi or better for line work or logos. “Effective Resolution” means resolution at final output size, taking into account scaling of the original image in the layout document.
- For digitally printed jobs RGB images in a color managed workflow are converted by the rip and are therefore accepted, any questions, please contact graphics@coxprinters.com for information.
- If your project bleeds please include 1/8″ bleed allowance all around. If you do not understand bleed please see our “Bleed Example” document.
- If your project is to print using spot colors a PANTONE (PMS) number is required. All items to print in that color must be set up with the same color designation. Please check separations of your file prior to sending it.
- Conversely, if your offset printed project is not to print with spot inks, all colors should be converted to process. For digitally printed jobs keep the spot colors in the files so the rip can manage the color matching.
Again, if you have any questions or concerns please do not hesitate to call or email us at graphics@coxprinters.com.
